DIY Deck Staining: Tips and Tricks for a Professional Finish
In the scenic city of Glendale, CA, where outdoor living is cherished year-round, maintaining a beautiful and durable deck is essential for homeowners. Staining your deck not only enhances its appearance but also extends its lifespan by providing protection against the elements. While Jewel City Decks specializes in creating and maintaining stunning outdoor spaces, we also support our DIY enthusiasts. Here are our expert tips and tricks for achieving a professional finish on your deck staining project.
Preparation is Key:
1. Clean Thoroughly
Before staining, ensure your deck is clean and free of dirt, grime, and previous finishes. Use a deck cleaner suitable for your wood type and consider using a pressure washer for deep cleaning, being careful not to damage the wood.
2. Sand the Surface
After cleaning, sanding the deck is crucial to remove any rough spots and create a smooth surface for even stain application. Use a medium-grit sandpaper and always sand in the direction of the wood grain.
3. Repair and Replace
Inspect your deck for any damaged boards, loose nails, or screws. Repair or replace these areas to ensure a uniform and safe surface for staining.
Choosing the Right Stain:
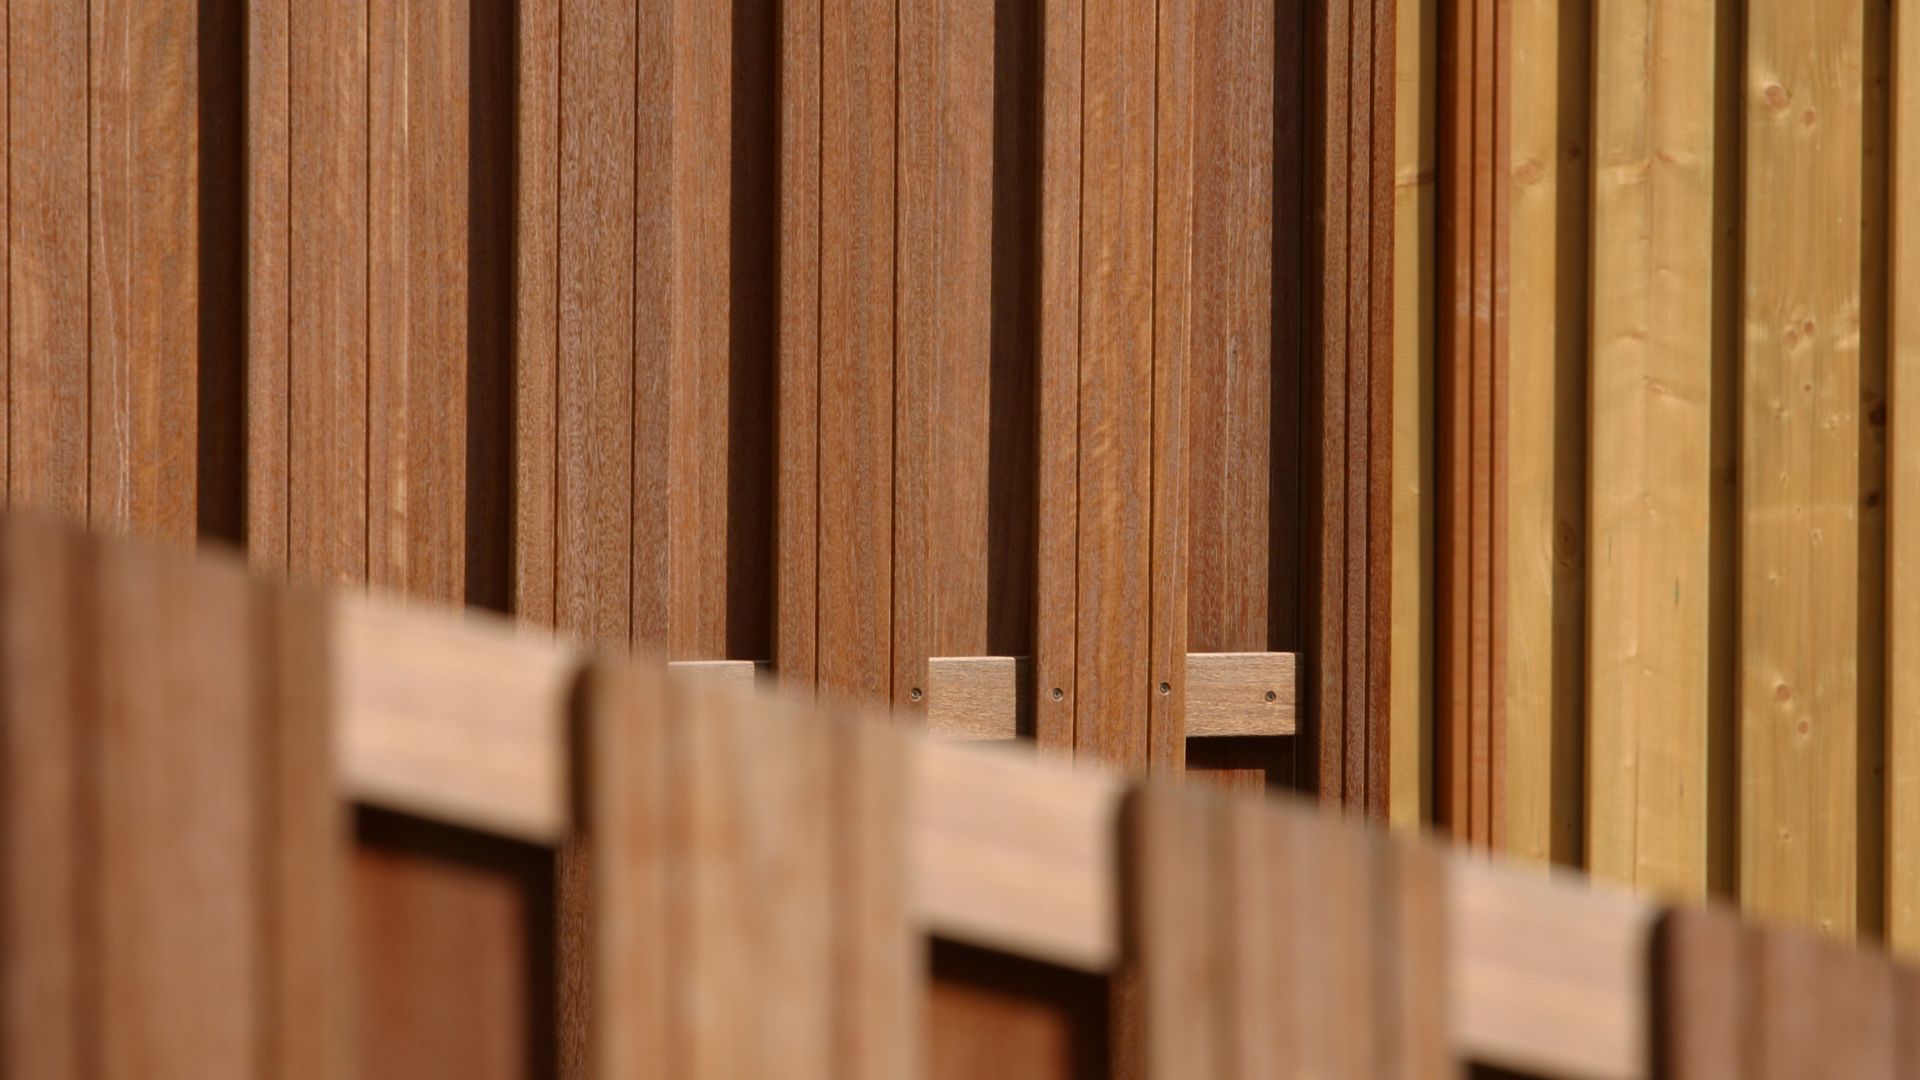
1. Consider the Wood Type
Different types of wood absorb stain differently. Research the best type of stain for your specific wood, whether it's a softwood like pine or a hardwood like mahogany.
2. Pick the Right Opacity
Stains come in various opacities, from transparent to solid. Decide how much of the wood grain you want to show through and choose accordingly. Transparent stains require more frequent reapplication, while solid stains offer longer-lasting protection but hide the wood grain.
3. Test First
Always test the stain on a small, inconspicuous area of your deck or a scrap piece of wood. This will give you an idea of the final color and allow you to make adjustments before committing to the entire deck.
Staining Techniques for a Professional Finish:
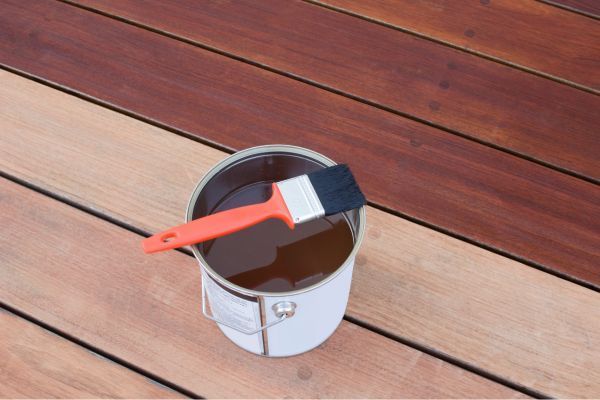
1. Use Quality Tools
Invest in high-quality brushes, rollers, or a sprayer for even application. Brushes are great for detailed areas and edges, rollers can cover large areas quickly, and sprayers offer a smooth finish but require more skill and preparation to avoid overspray.
2. Apply in Thin Coats
It's tempting to slather on a thick coat of stain, but thin coats are key to avoiding sticky, uneven finishes. Apply the stain in thin layers, allowing ample drying time between coats. This method also enhances the wood's protection by allowing the stain to penetrate deeply.
3. Mind the Weather
Choose a day with mild temperatures and low humidity for your staining project. Avoid staining in direct sunlight, which can cause the stain to dry too quickly and unevenly. Early morning or late afternoon is ideal in Glendale's climate.
4. Follow the Grain
Always apply stain in the direction of the wood grain for a smooth, natural look. This technique also ensures better absorption and a more uniform finish.
Aftercare and Maintenance:
1. Allow Adequate Drying Time
Resist the urge to replace furniture or walk on the deck immediately after staining. Check the stain manufacturer's recommendations for drying times, usually 24-48 hours.
2. Regular Maintenance
Even with a professional finish, regular maintenance is crucial. Clean your deck periodically and reapply a maintenance coat of stain every few years, depending on wear and exposure.
3. Inspect Annually
Perform an annual inspection of your deck, looking for signs of wear, water damage, or fading stain. Early detection and touch-ups can prevent more extensive repairs down the line.
Conclusion
DIY deck staining can be a rewarding project that enhances the beauty and longevity of your outdoor living space in Glendale, CA. By following these tips and tricks from Jewel City Decks, you're well on your way to achieving a professional finish that you'll be proud of. Remember, preparation, patience, and attention to detail are your best tools in this endeavor. Happy staining!
How often should I restain my deck?
The frequency depends on the stain type, wood condition, and exposure. As a general rule, transparent stains last 1-2 years, semi-transparent stains 2-3 years, and solid stains up to 5 years.
Can I stain over an old stain?
Yes, but ensure the old stain is properly cleaned and sanded. If switching stain types or colors, more thorough preparation may be necessary.
What's the difference between staining and sealing a deck?
Staining adds color and some protection against UV damage, while sealing is clear and focuses on protecting against moisture. Some products combine both stain and sealant for convenience.
Do I need to stain the underside of my deck?
It's not usually necessary unless your deck is less than two feet off the ground, where moisture can be more of an issue.
Can I stain a new deck immediately?
It's recommended to wait several months for the wood to weather and dry out before staining, allowing for better stain absorption and adhesion.
You might also like